Why Sliding Gate Installation Matters for Your Property
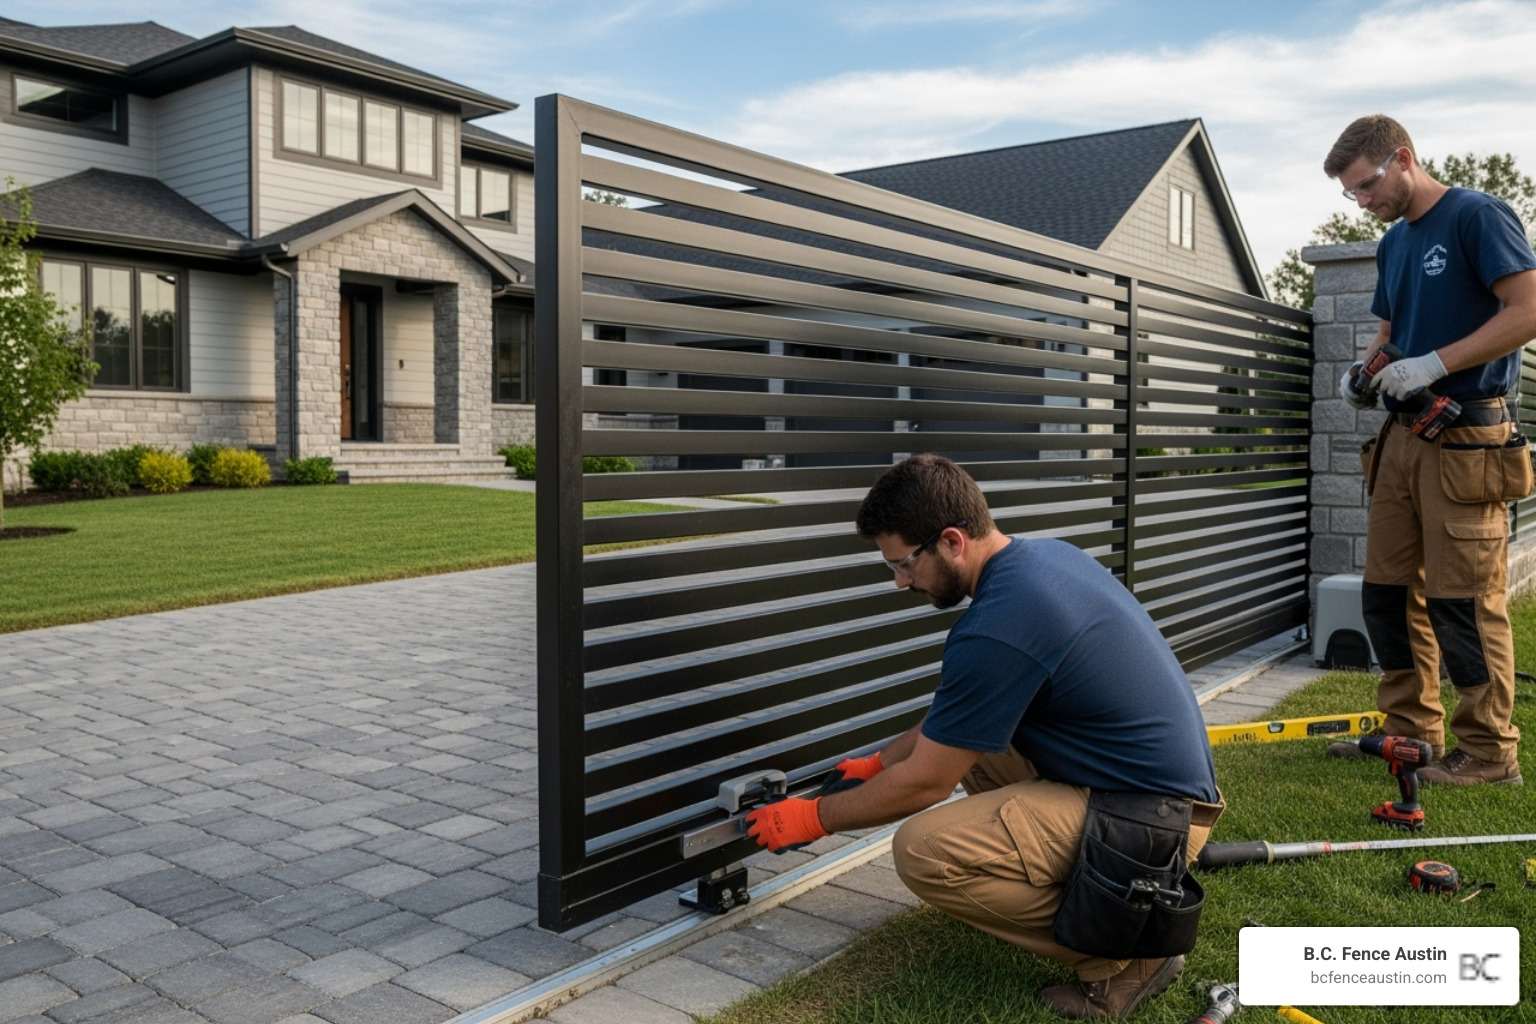
Sliding gate installation is a transformative project that boosts security, adds curb appeal, and provides convenient automated access to your property. For homeowners looking to protect their family while maintaining an attractive entrance, a well-installed sliding gate is an ideal solution.
Quick Overview: Sliding Gate Installation Essentials
- Plan First – Measure your opening and ensure you have enough retraction space (gate width plus overhang).
- Solid Foundation – A level concrete footing and track are critical for smooth operation.
- Key Parts – The gate panel, track, wheels, posts, and guide brackets must work in harmony.
- Safety is Mandatory – Modern installations require photoeyes, safety edges, and compliance with UL 325 standards.
- Automation Adds Value – Gate openers with remote access provide convenience and security.
- Know When to Call a Pro – Complex terrain or heavy gates are best left to experts.
Sliding gates are popular for residential properties because they are ideal for tight spaces where traditional swing gates won’t work. Unlike swing gates that need clearance to open, sliding gates travel parallel to your fence line, making them perfect for properties with limited driveway depth.
This guide walks you through the installation process, from site preparation to integrating automated openers. Whether you’re a confident DIYer or preparing to hire a professional, you’ll learn what it takes to install a sliding gate that operates smoothly for years.
Planning and Preparation: Your Blueprint for Success
Before you break ground, proper planning is the foundation of a successful sliding gate installation. A little time spent planning now will save you hours of headaches later.
Essential Tools and Materials
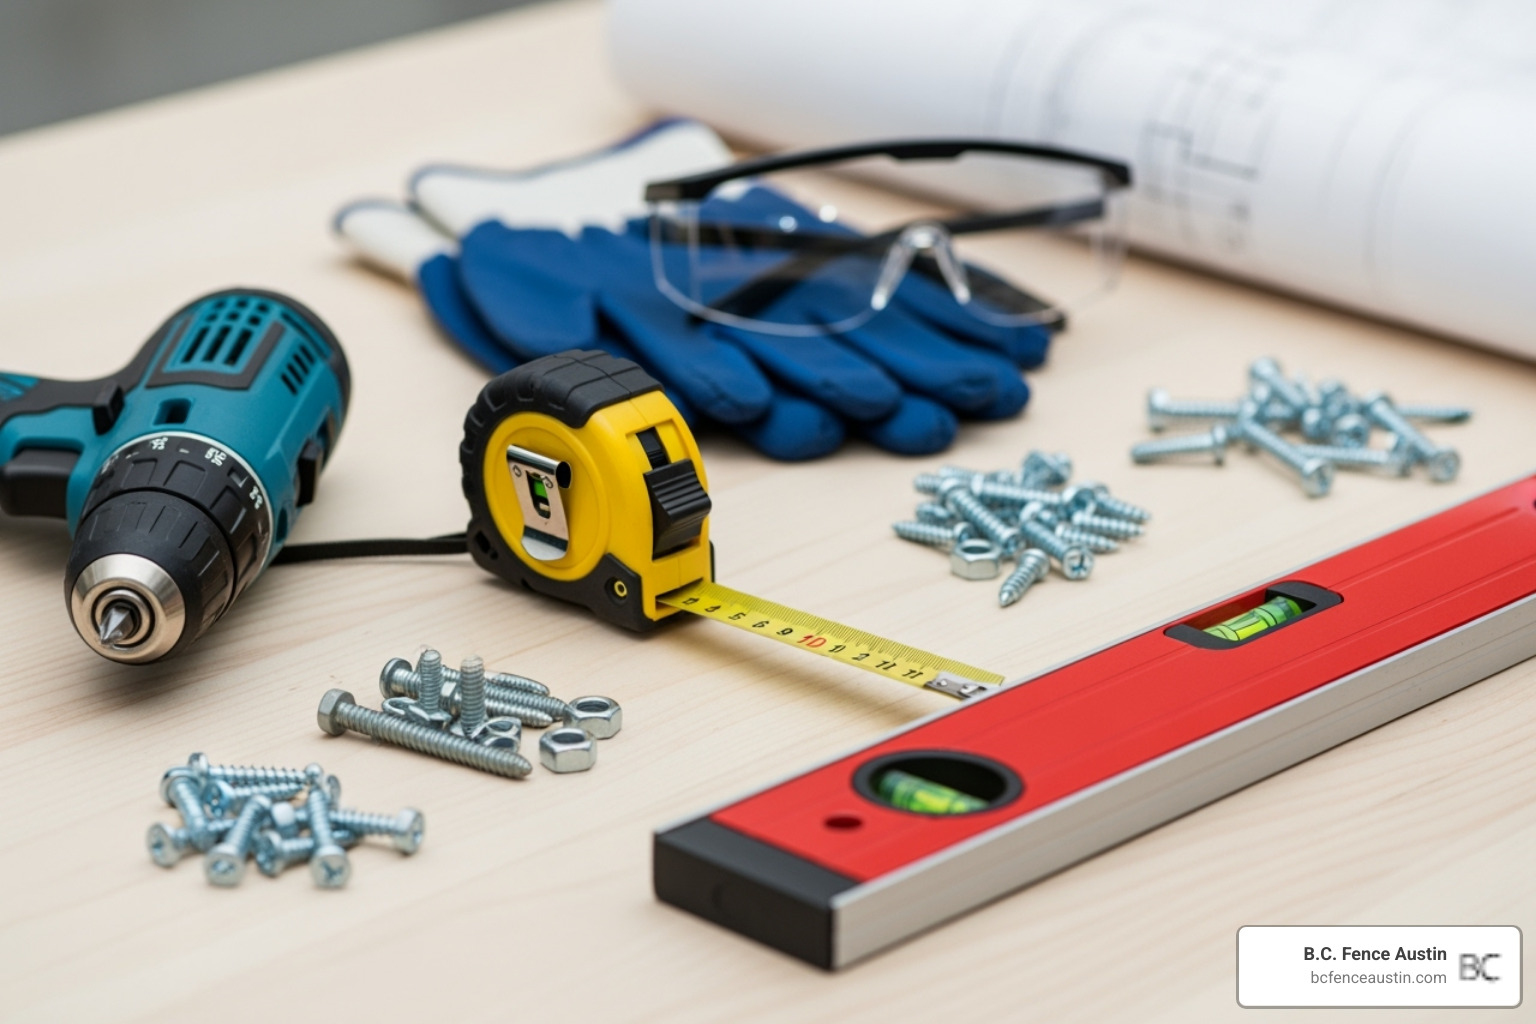
Having the right tools and materials ready makes the process smoother. You will need:
- Layout: Long tape measure, spirit level, string line, and stakes.
- Concrete Work: Shovel or post-hole digger, wheelbarrow, concrete mix, and a trowel.
- Assembly: Electric drill with various bits (including for concrete), wrenches, and a hammer.
- Safety Gear: Safety glasses, heavy-duty work gloves, and ear protection are non-negotiable.
- Gate Components: Your chosen gate panel (like an Iron Fence Gate), track, wheels, posts, guide brackets, a hard stop, and fasteners. If automating, include the gate opener and its accessories.
Crucial Safety Precautions
Safety is paramount. A sliding gate installation involves heavy materials, power tools, and potential electrical work.
- Wear PPE: Always wear safety glasses and work gloves.
- Assess the Site: Clear obstructions and be aware of weather conditions.
- Lift Safely: Gates are heavy. Always have a helper for lifting and use proper techniques (bend your knees).
- Call 811: Before digging, call 811 before you dig. This free service notifies utilities to mark underground lines. Hitting a buried line is dangerous and expensive.
- Electrical Safety: If automating the gate, disconnect power before working on wiring. If you are not confident, hire a licensed electrician.
- Understand UL 325: Automated gates must comply with UL 325 safety standards to prevent entrapment. This involves installing specific safety devices.
Understanding Dimensions and Clearances
“Measure twice, cut once” is your mantra here.
- Gate Opening: Measure the clear span your gate needs to cover.
- Gate Size: The gate frame must be wider than the opening, typically by at least 18 inches. This overhang is necessary for the guiding mechanism.
- Retraction Space: You need a straight, unobstructed run along your fence line for the gate to open fully. This space must be equal to the total gate length (opening + overhang + hardware).
- Ground Clearance: The gap between the bottom of the gate and the ground should be minimal to prevent hazards, while any openings in the gate itself must meet safety standards (e.g., a 4-inch sphere cannot pass through certain areas).
- Local Codes: Check with your local building department in Cedar Park, Austin, or Leander for specific regulations on gate height, setbacks, and permits.
A Step-by-Step Guide to Your Sliding Gate Installation
With planning complete, it’s time to build. Following these steps methodically ensures a stable, secure, and smooth-operating gate.
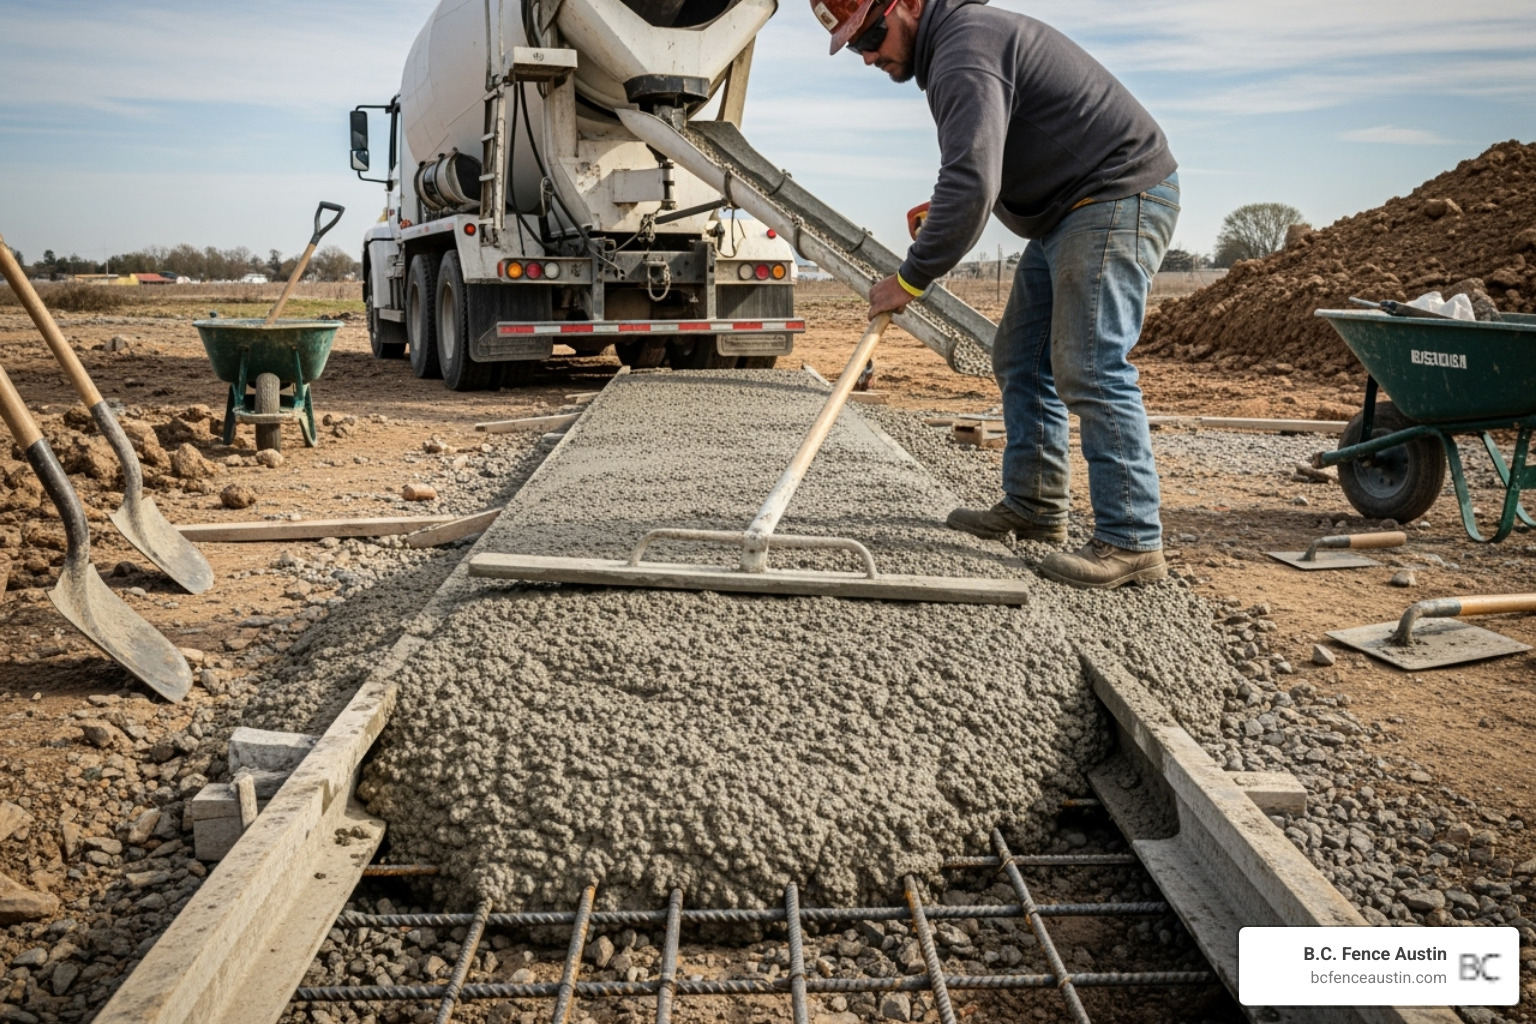
Step 1: Site Preparation and Foundation
A solid foundation is the bedrock of your entire sliding gate installation. A poor foundation will cause endless problems.
- Clear the Area: Remove all vegetation, rocks, and debris from the gate’s entire travel path, including the retraction area.
- Mark Locations: Use a string line and tape measure to mark the exact positions for your gate posts and track.
- Dig Holes: Dig post holes deep enough to go below your local frost line (often 42-48 inches deep) to prevent shifting. The diameter should be about three times the post’s width.
- Pour Concrete Foundation: Your gate track requires a solid, level concrete strip to run on. This strip should be wide enough for the track and also support the gate opener. Pour a separate concrete pad for the opener itself.
- Level and Cure: Use a spirit level to ensure the concrete strip is perfectly level. Any variation will cause operational problems. Allow the concrete to cure for at least 24-48 hours before proceeding.
Step 2: Setting the Gate Posts
Proper post installation ensures your gate remains stable.
- Position Posts: Set each post (main, guide, and receiving) into its wet concrete footing according to your measurements.
- Ensure Plumb: Use a spirit level to make sure each post is perfectly vertical (plumb). Even a slight lean will cause the gate to bind.
- Brace Securely: Use temporary supports to hold the posts in their plumb position while the concrete cures completely. The stability of these posts is critical, especially for heavy Custom Entry Gates.
Step 3: Installing the Track and Gate Hardware
This is the mechanical heart of the system.
- Position the Track: Cut the track to the correct length (roughly twice the opening width plus overhang). Lay it on the cured concrete strip.
- Test Alignment: Before fastening, attach the wheels to your gate and roll it along the loose track to ensure it moves smoothly and straight.
- Secure the Track: Once aligned, secure the track to the concrete with anchor bolts. Ensure it remains perfectly straight and level.
- Install Hardware: Attach the wheels to the bottom of the gate frame. Install guide brackets on the guide post to keep the gate upright as it moves, leaving a small gap for smooth travel.
- Install the Hard Stop: A hard stop is a physical barrier at each end of the track that prevents the gate from rolling too far. Securely bolt it to the track.
Step 4: Mounting the Gate and Final Adjustments
This is the final assembly step.
- Mount the Gate: With help, carefully lift the gate panel and seat its wheels securely into the track.
- Test Movement: Gently roll the gate fully open and closed several times. It should move smoothly without binding or excessive friction.
- Adjust Guide Rollers: Fine-tune the guide brackets. They should hold the gate upright but allow it to slide with minimal friction. A slight clearance (a few millimeters) is ideal.
- Final Checks: Test the hard stops by gently rolling the gate against them. Listen for any scraping sounds and inspect for rubbing. Adjust as needed until the gate glides effortlessly.
Automating Your Gate: Power and Safety Features
Automation transforms your gate from a manual chore into a convenient, secure entry point. However, adding power requires a strict focus on safety.
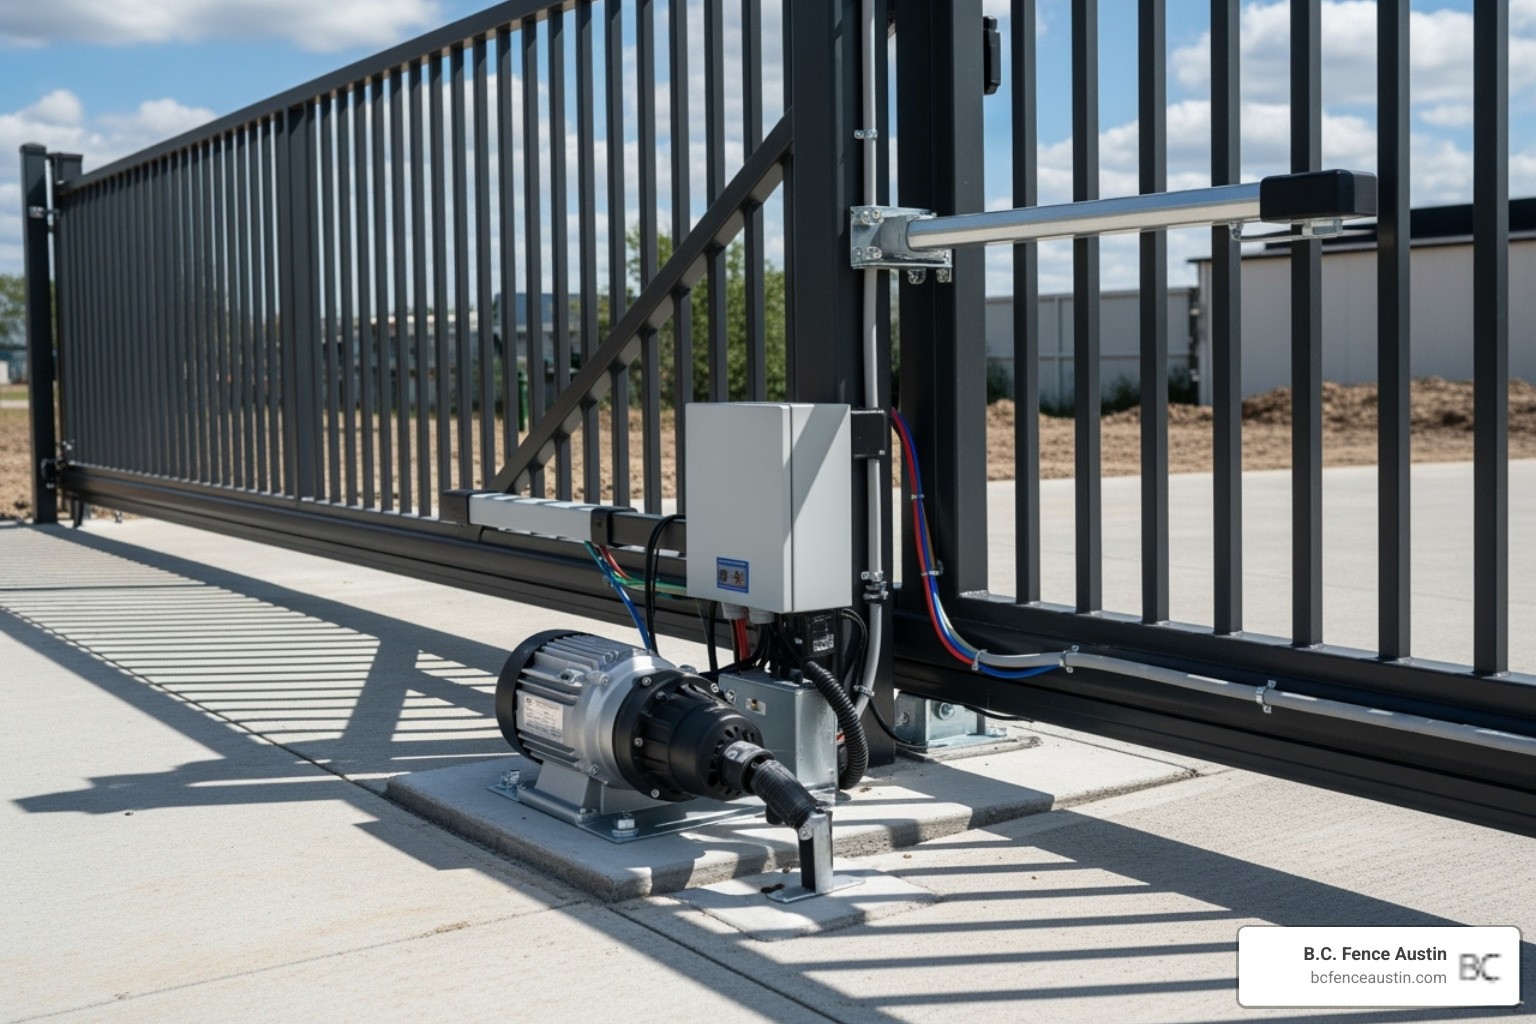
Choosing and Installing a Gate Opener
Selecting the right opener is like choosing the right engine for a car.
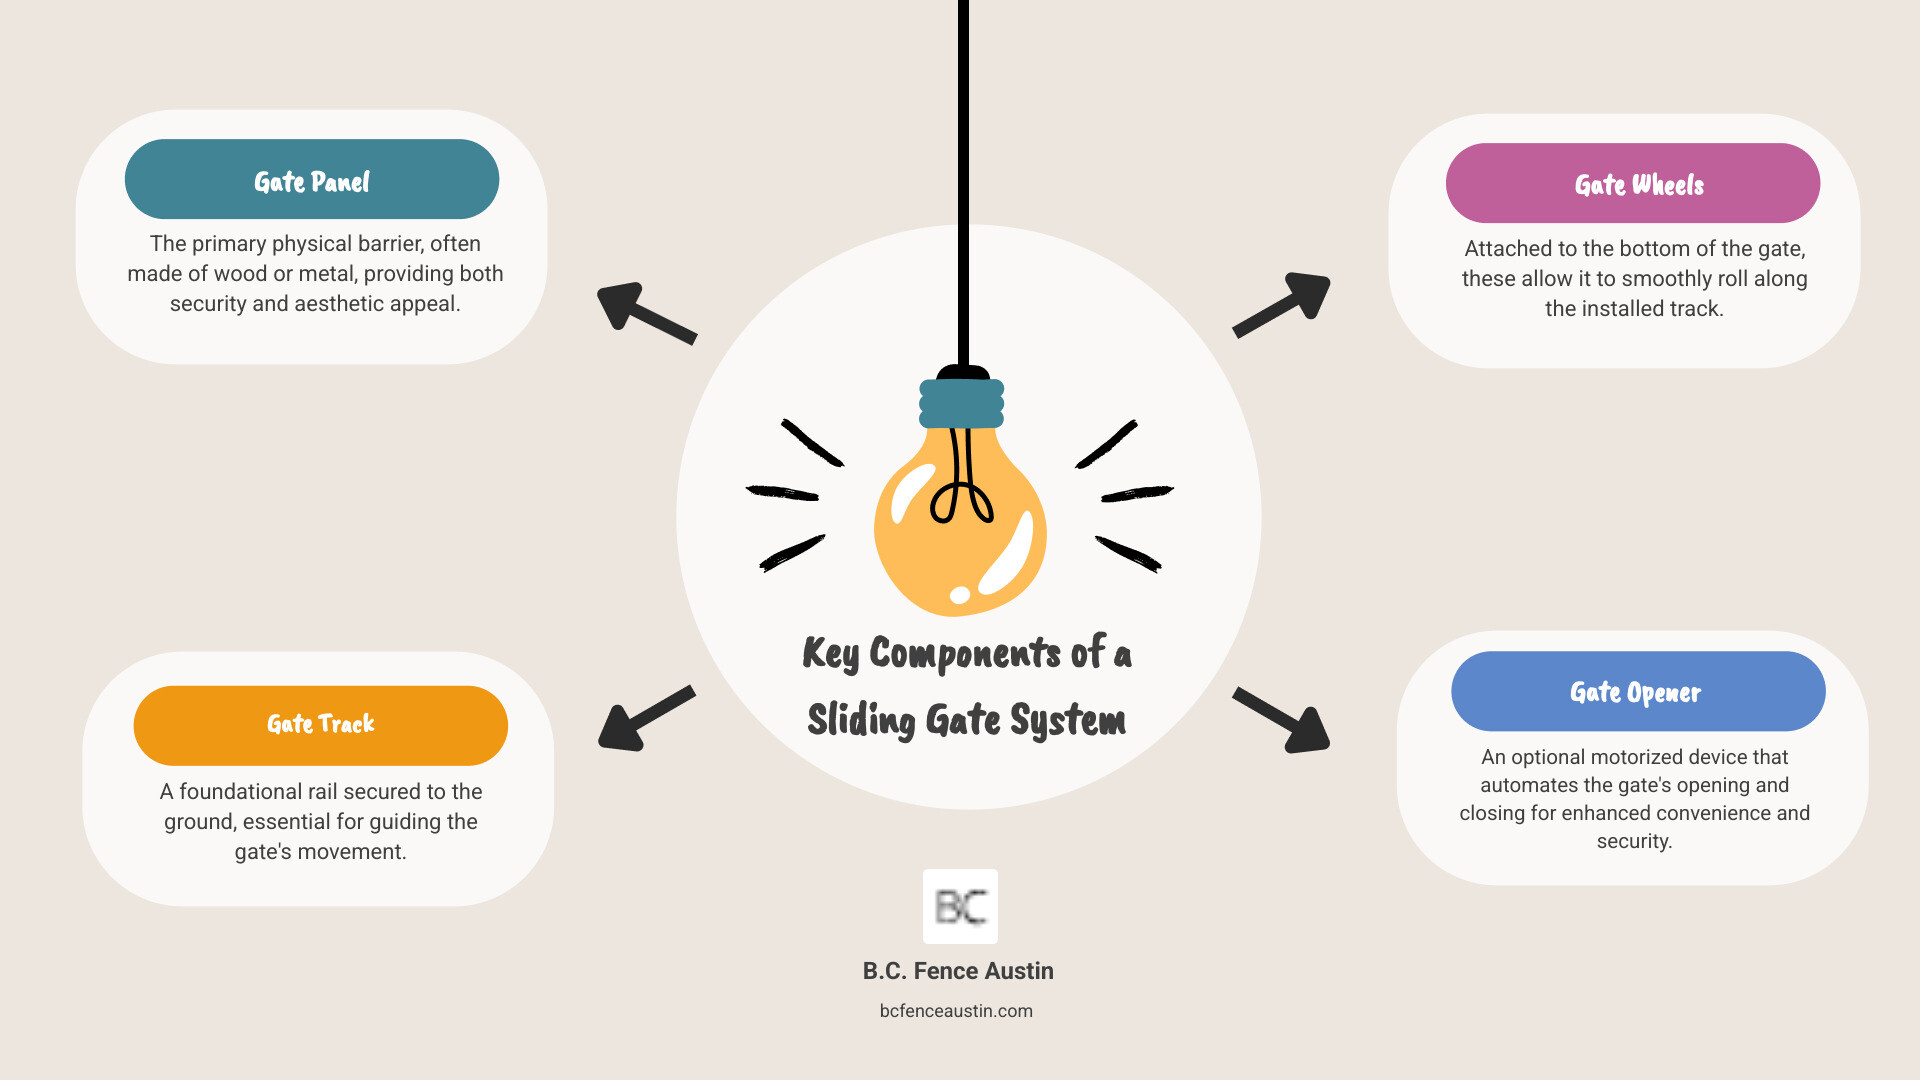
- Opener Types: The most common types are chain-drive (robust and reliable) and rack-and-pinion (quieter and often more precise).
- Sizing is Critical: The opener must be rated for your gate’s specific length and weight. An undersized opener will fail prematurely and can be dangerous.
- Mounting the Opener: The opener chassis must be mounted on a stable, level concrete pad. Position it so the cover does not contact the gate during movement. Secure it firmly with anchor bolts.
- Installation: For chain-drive systems, ensure proper alignment before attaching the chain. For rack-and-pinion systems, attach the rack to the gate, ensuring proper clearance with the pinion gear. For more details, see our Gate Installation Services page.
Integrating Essential Safety Devices
An automated gate can exert dangerous force. Compliance with UL 325 safety standards is mandatory, not optional.
- Photoeyes (Photoelectric Sensors): These create an infrared beam across the gate opening. If the beam is broken while the gate is closing, the gate must immediately stop and reverse. At least one set should be installed.
- Safety Edges: These are pressure-sensitive strips mounted on the gate’s edges. If they make contact with an obstruction, they signal the gate to stop or reverse. They are crucial for preventing entrapment.
- UL 325 Compliance: The standard requires a minimum of two independent monitored entrapment protection devices for each potential entrapment zone. This means you might need a combination of photoeyes and safety edges. The opener must “monitor” these devices to ensure they are always working.
- Loop Detectors: These are wires buried in the driveway that detect vehicles, often used for “free exit” or to prevent the gate from closing on a car.
Connecting and Testing Electrical Components
Proper wiring and thorough testing are what make a sliding gate installation safe and reliable.
- Run Wires in Conduit: Protect all electrical wiring from damage by running them through separate conduits.
- Connect to Control Board: With the main power OFF, follow the manufacturer’s manual precisely to connect all wires to the correct terminals.
- Program and Set Limits: Program your remotes and keypads. Carefully set the gate’s travel limits so it knows where to stop.
- Adjust Force and Test: Set the opener’s force just high enough to operate reliably, but low enough to reverse on obstruction. Test all safety features rigorously. Place an object in the gate’s path to ensure it reverses on contact. Break the photoeye beam to confirm it reverses.
- Perform Monthly Checks: Test all safety devices every month to ensure they are functioning correctly. This ongoing vigilance is key to a safe system.
DIY vs. Professional Installation: Making the Right Choice
Deciding whether to DIY a sliding gate installation or hire a professional impacts the project’s safety, cost, and quality.
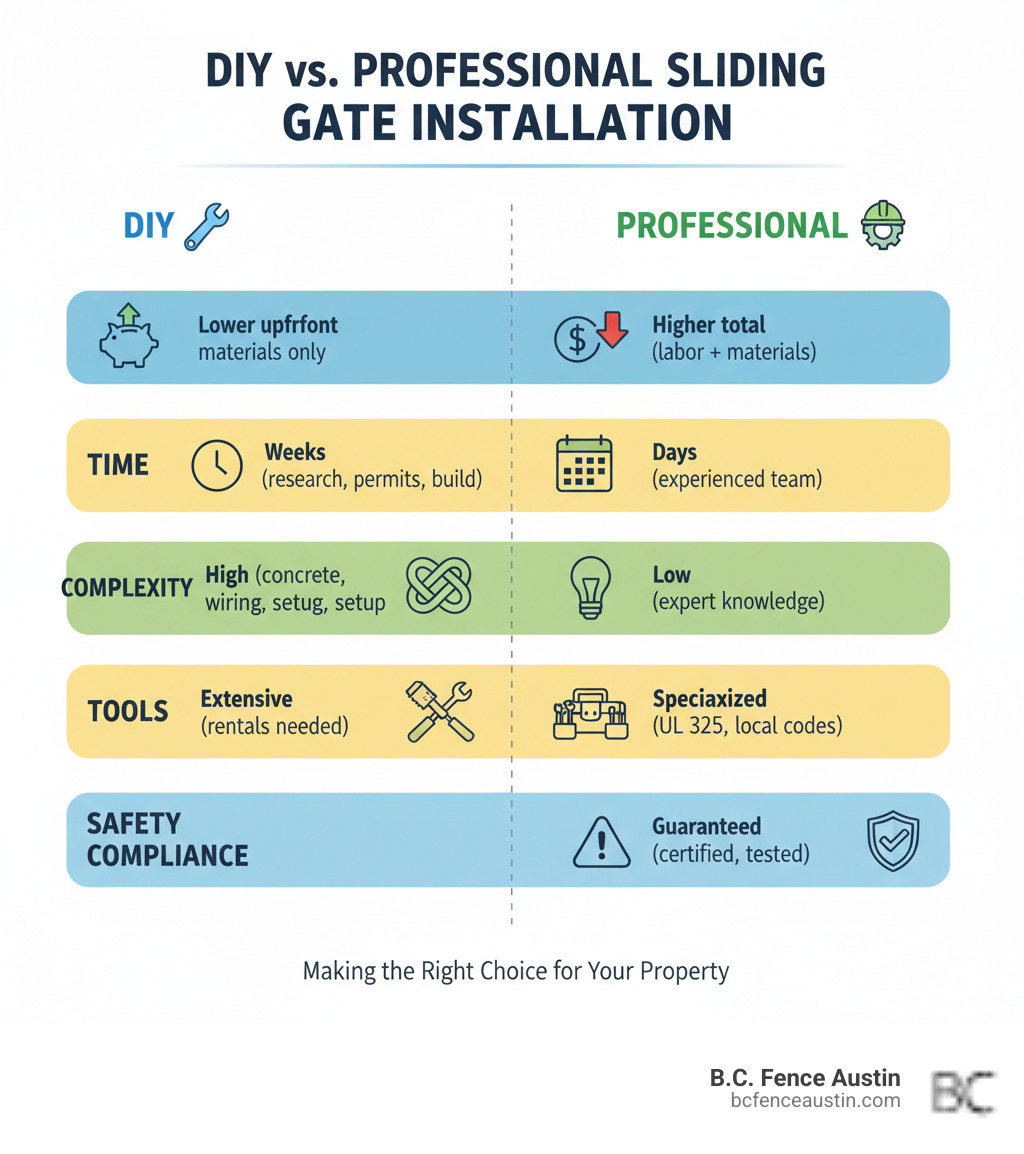
Key Considerations for a DIY Sliding Gate Installation
A DIY approach requires a specific skill set and significant commitment.
- Skill Level: You need a solid understanding of construction, concrete work, and mechanical assembly. For automated gates, electrical knowledge is essential.
- Tools and Time: The project requires specialized tools and is not a quick weekend job. Factoring in concrete curing time, it can take several days or more.
- Physical Demands: This is hard work involving digging, mixing concrete, and lifting heavy gate panels. Ensure you are physically capable and have help.
- Common Mistakes to Avoid:
- Improper Foundation: An unlevel track or unstable posts is the most common failure, causing binding and premature wear on the opener.
- Incorrect Measurements: Errors in calculating gate size or retraction space can result in a gate that doesn’t fit or operate correctly.
- Ignoring Safety Standards: Failing to install UL 325-compliant safety devices like photoeyes and safety edges creates a serious hazard.
When to Call a Professional
Some situations strongly warrant hiring an expert.
- Complex Terrain: If your driveway is on a slope, a standard installation is extremely difficult. Professionals can install cantilever systems better suited for uneven ground.
- Large or Heavy Gates: Installing heavy custom gates requires specialized lifting equipment and engineering knowledge that professionals possess.
- Integrated Security Systems: If you want to link your gate to keypads or intercoms, a professional has the expertise to wire and program these complex systems correctly.
- Lack of Time or Experience: If you’re short on time or don’t feel confident, hiring a pro is the smart choice. As many manuals state, these systems are intended to be installed by trained technicians.
- Warranty and Compliance: Professionals are insured, offer warranties, and ensure your installation is fully compliant with local codes and national safety standards like UL 325. For more information, see our Gate Installation Services.
Post-Installation Care and Maintenance
Congratulations on your new sliding gate! To ensure it operates flawlessly for years, a little routine maintenance is essential. This preventive care protects your investment and prevents minor issues from becoming major repairs.
Routine Checks and Cleaning
- Clear the Track: Regularly sweep or blow leaves, dirt, and rocks out of the gate track. Debris can cause the gate to bind and strain the opener.
- Check Hardware: Periodically check that all bolts and fasteners on the gate, posts, and track are tight.
- Clean the Gate: Wash the gate panels with mild soap and water to remove dirt and prevent corrosion or rot.
- Inspect Wheels and Rollers: Look for signs of wear or damage on the wheels and guide rollers. Ensure they spin freely.
Lubrication and Adjustments
- Lubricate Moving Parts: Use a silicone-based lubricant on locks, latches, and hinges. Follow the opener manual’s guide for lubricating the chain or rack.
- Test Safety Features Monthly: This is non-negotiable. Test your photoeyes, safety edges, and auto-reverse function every month to ensure they are working correctly. If a safety feature fails, stop using the gate until it is repaired.
- Check Chain Tension: For chain-drive openers, ensure the chain has the proper tension as specified in the manual.
- Test Battery Backup: If you have a battery backup, disconnect the main power every few months to verify the gate still operates. This ensures you won’t be locked out during a power outage.
Frequently Asked Questions about Sliding Gate Installation
We get a lot of questions about sliding gate installation. Here are answers to the most common ones.
How much space do I need for a sliding gate?
A sliding gate needs a straight, unobstructed space to retract into when it opens. The required space is equal to the total length of the gate itself. This length is your driveway opening width plus an overhang of at least 18 inches, plus a little extra for hardware. For a 10-foot opening, you’ll need about 12-13 feet of clear space alongside your driveway.
What is the most common mistake in a DIY sliding gate installation?
Without a doubt, the most common and damaging mistake is an improper foundation. If the concrete track is not perfectly level or the posts are not stable and plumb, the gate will bind, scrape, and operate poorly. This puts excessive strain on the gate opener, leading to premature failure. Getting the foundation right is the most critical part of the installation.
Can I install a sliding gate on a sloped driveway?
Yes, but it is significantly more complex and not recommended for a typical DIY project. A standard tracked gate requires a level track, which is difficult to achieve on a slope. A cantilever gate system, which “floats” above the ground without a track, is a much better solution for sloped or uneven terrain. However, installing a cantilever gate requires precise alignment and is best handled by experienced professionals to ensure proper function and safety.
Secure Your Property with a Flawless Gate Installation
You’ve now journeyed through the essentials of a sliding gate installation. Whether you tackle it yourself or hire a professional, you understand what makes a gate system successful.
A properly installed sliding gate is a valuable investment, enhancing your property’s security, curb appeal, and daily convenience. The key to a long-lasting, reliable gate lies in the fundamentals: a solid foundation, precise measurements, and robust, compliant safety features. Regular maintenance ensures it all continues to run like clockwork.
For homeowners in Cedar Park, Leander, and the greater Austin area, the team at B.C. Fence Austin is here to help. We have extensive experience installing everything from simple Iron Fence Gate designs to complex, automated Custom Entry Gates. Our Gate Installation Services cover every step, ensuring your project meets the highest standards of safety and quality.
Ready to transform your property with a beautiful and secure sliding gate?
